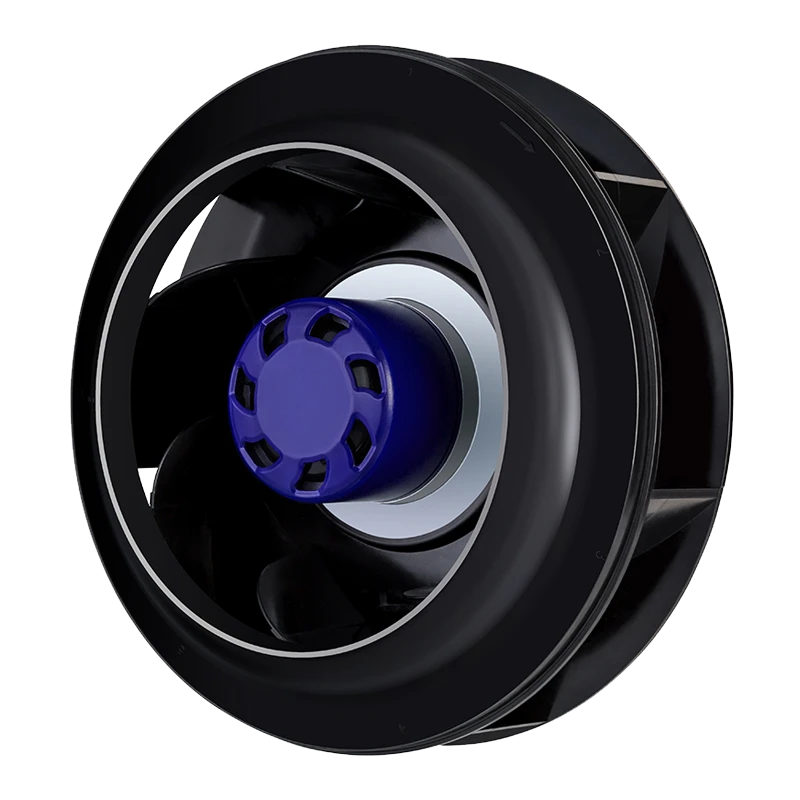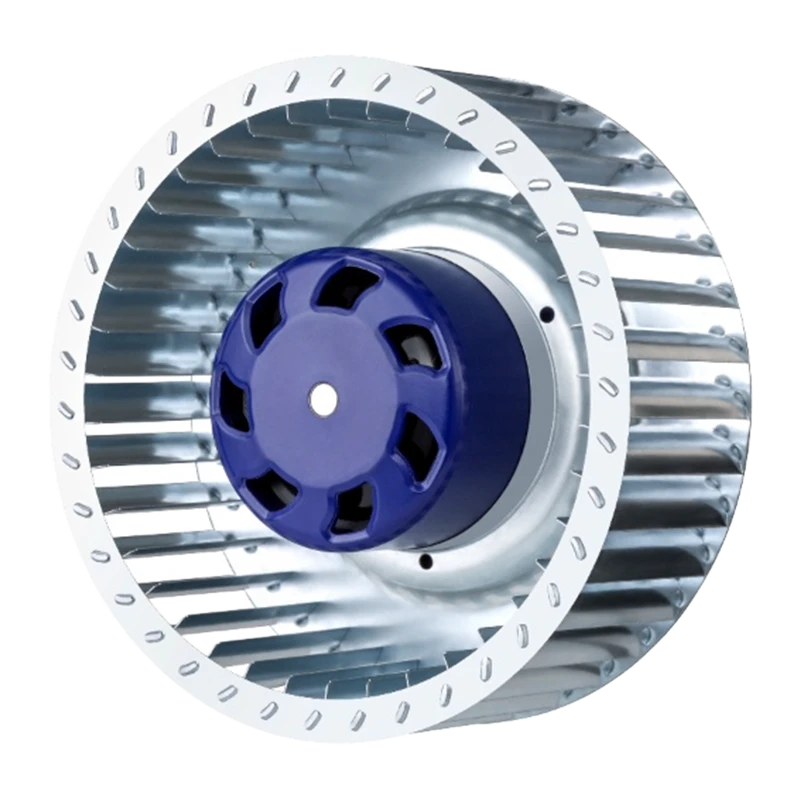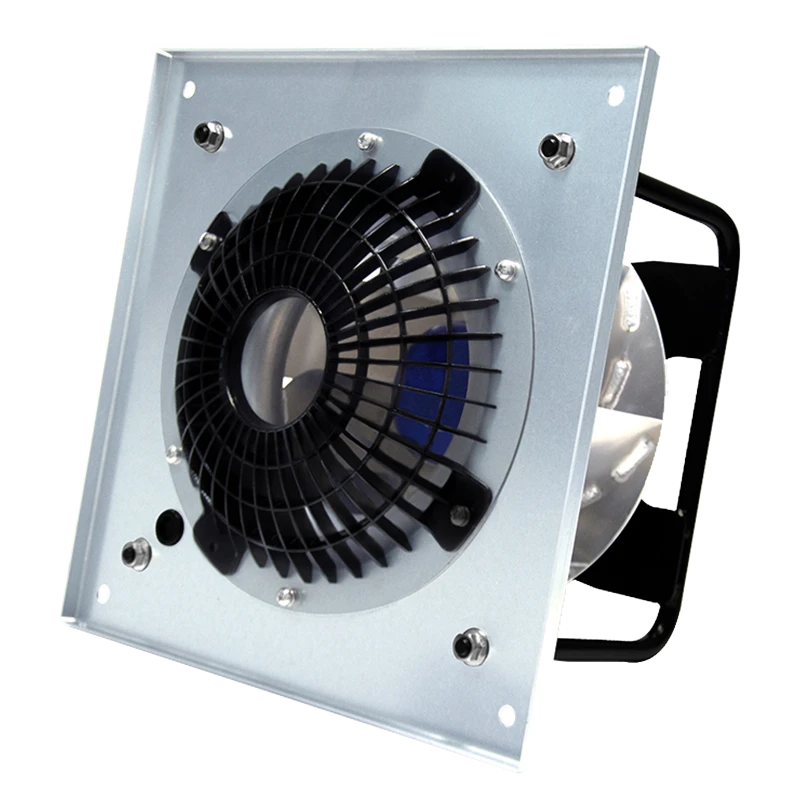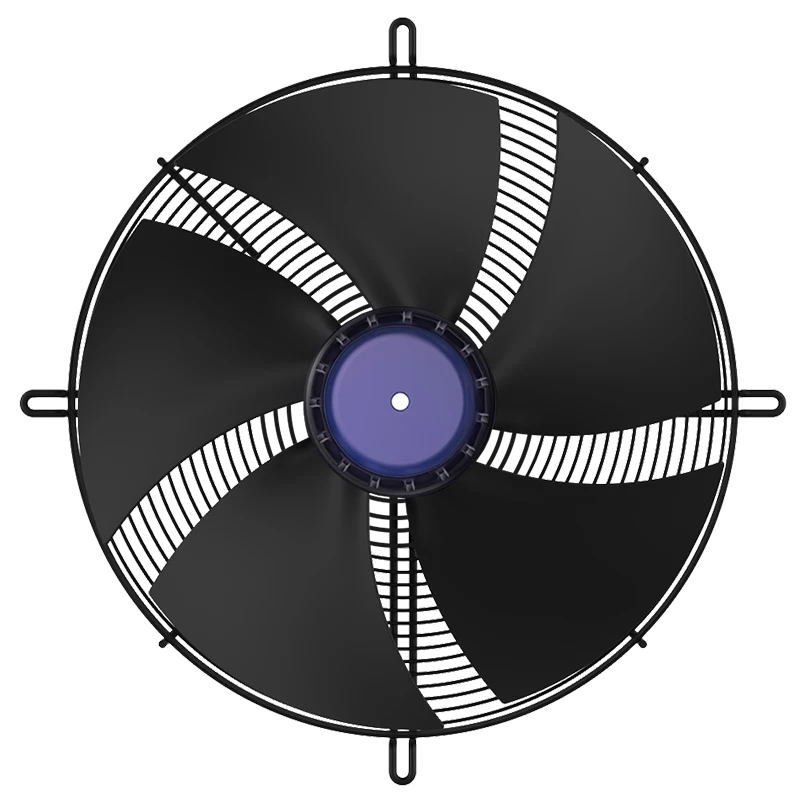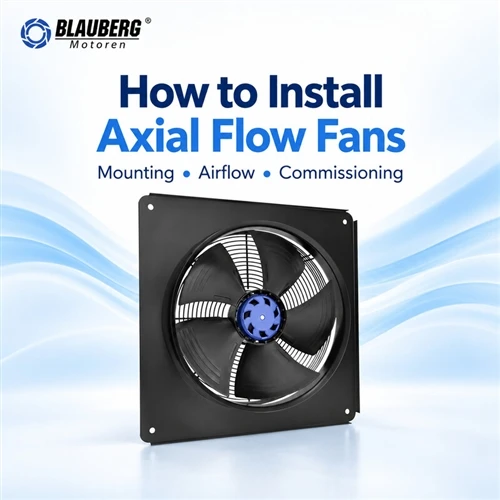
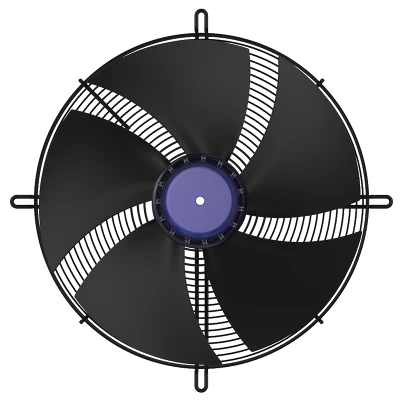
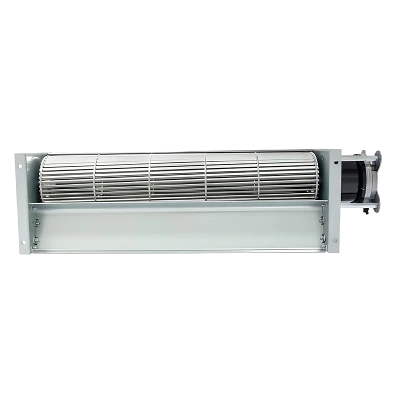
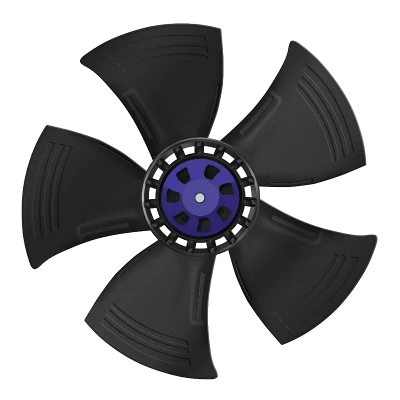
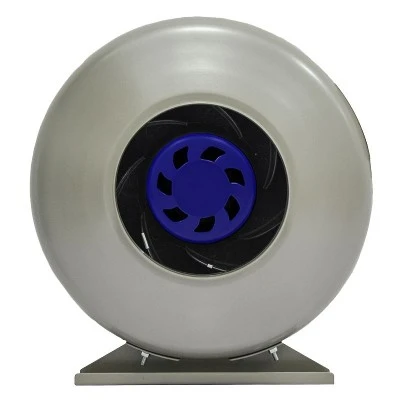
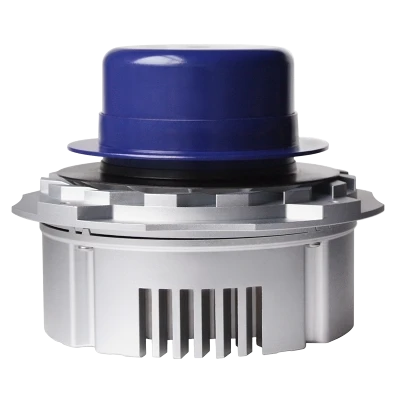

If you're reading this, chances are you've got an axial flow fan on hand, or you're gearing up to install one in a space that needs consistent air movement-think a server closet, a workshop, a bathroom, or even a portable cooling setup for a home appliance. As a supplier of these fans, I've seen my fair share of botched installations, and let's be real: a bad install kills efficiency, wastes energy, and can even shorten your fan's lifespan before it barely runs. I'm gonna walk you through a step-by-step, no-jargon process that works for most axial flow fans, plus throw in quick notes on which of our models fit specific use cases. Let's dive in.
First, a quick refresher on what an axial flow fan does, just to make sure we're on the same page. Unlike centrifugal fans that push air out at a right angle, axial fans move air parallel to the shaft-so they're perfect for moving large volumes of air straight through a space, not redirecting it. That makes them ideal for general ventilation, cooling motors, exhausting fumes, or keeping electronics from overheating. Before you even touch a screwdriver, there are two non-negotiable pre-install checks that'll save you headaches later.

First, confirm your fan's specs match your space. If you're working on a small home appliance cooling job, say for a portable AC unit or a small dehumidifier, our 200mm 0~10V PWM Portable Home Appliances Electric Motor Cooling EC Axial Fan is a solid pick. It's compact, has variable speed control so you can tweak it based on how hot the appliance gets, and it's designed to fit tight spots that bigger fans won't. But if you're handling a bigger, industrial job-like a warehouse ventilation setup or a heavy-duty exhaust-you'll want something with more airflow. The 200mm EC Brushless Axial Fan Air Flow Ventilation Industrial Axial Blower Exhaust Fan is built for continuous, high-volume use, no problem. Wait, and if you need something waterproof for a space that gets damp, like a rooftop exhaust or a pool house? Our 350mm 115V EC Waterproof Axial Exhaust Fan for Ventilation Cooling Industry is IP-rated to handle moisture without shorting out. That leads me to the second pre-install check: measure your mounting space. Axial fans have specific cutout dimensions, and cutting a hole too big or too small is a recipe for air leakage. Let me say that again: air leakage around the fan = wasted energy. Your fan should sit flush against the mounting surface, with no gaps larger than a 1/8-inch. If it's too small, you'll have to seal it with foil tape or silicone caulk, but it's way easier to pick a fan that fits your cutout-like our Blauberg BC-A200C-EC-00 200mm EC Axial Fan, which is engineered for standard 200mm cutouts so you don't have to modify your space.
Now, let's get into the actual installation steps, broken down for common scenarios-wall mounting, panel mounting, and duct mounting, since those are the three most common setups.
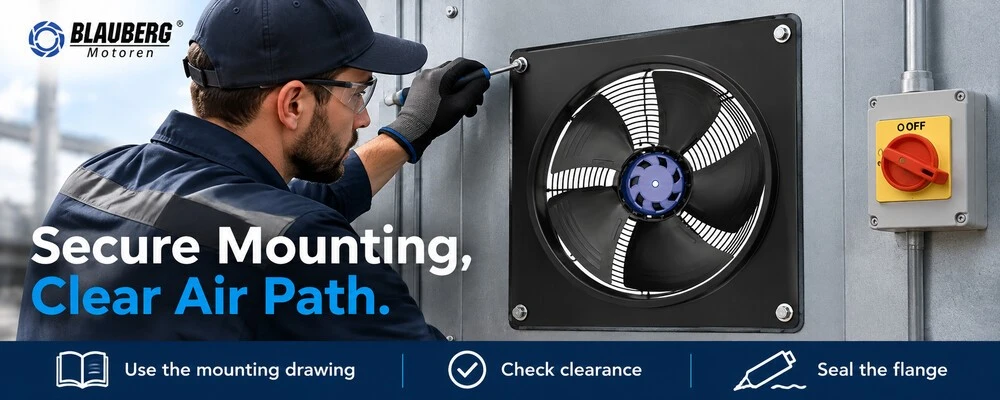
First, wall mounting (most common for bathrooms, workshops, or rooftop exhausts). Start with marking your cutout. Grab a pencil, a level, and trace the fan's mounting flange onto the wall. Pro tip: leave a 1-inch clearance around the cutout for insulation if you're installing in an exterior wall-this prevents heat loss in winter or condensation buildup. Once you cut the hole (use a reciprocating saw for wood, a hole saw for concrete, just be careful not to nick any wiring), grab the fan and test fit it. If it's too tight, sand the edges of the hole; if it's loose, add a wooden spacer around the edge to fill gaps. Next, run the wiring. This is where people mess up. Turn off the circuit breaker for the area first-no exceptions. Axial fans typically have two main wires: a power wire (hot, neutral, ground) and a speed control wire if it's an EC fan (which most of our models are). For the 200mm PWM fan, you can hook up the 0~10V signal to a thermostat or temperature sensor so it adjusts speed automatically, which saves energy. For a basic industrial fan like the 200mm EC Brushless model, it's just standard 115V wiring, so make sure your circuit can handle the fan's draw (check the spec sheet-ours list that on the product page). Once the wiring is hooked up properly (twist the wires with wire nuts, wrap with electrical tape to prevent fraying), secure the fan to the wall. Use the mounting screws that came with the fan-don't use too long a screw, or you'll pierce the wall on the other side. I usually space screws every 6 inches around the flange for a tight fit. Finally, seal the edges. Use silicone caulk for exterior walls or damp spaces, or foil tape for interior walls to prevent air leaks.
Which EC axial fan models should you review?
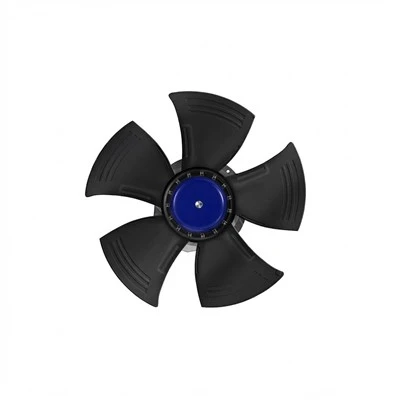
Blauberg BL-A500C-EC-05 500mm EC Axial Fan
View product details and specifications.
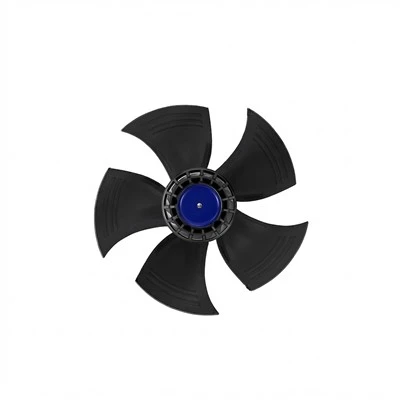
Blauberg BL-A450C-EC-05 450mm EC Axial Fan
View product details and specifications.
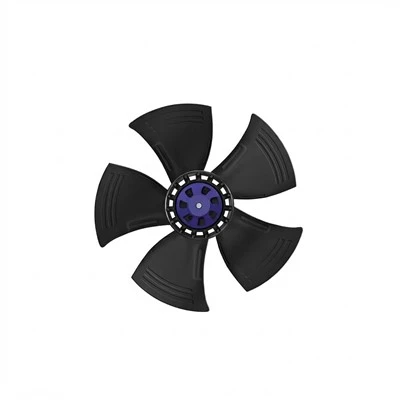
Blauberg BL-A400C-EC-07 400mm EC Axial Fan
View product details and specifications.
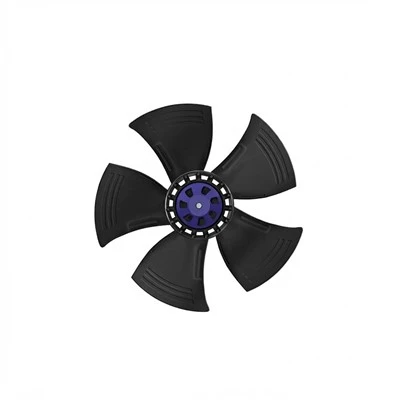
Blauberg BL-A400C-EC-05 400mm EC Axial Fan
View product details and specifications.
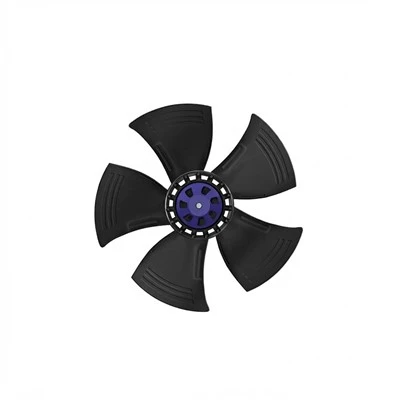
Blauberg BC-A400C-EC-07 400mm EC Axial Fan
View product details and specifications.
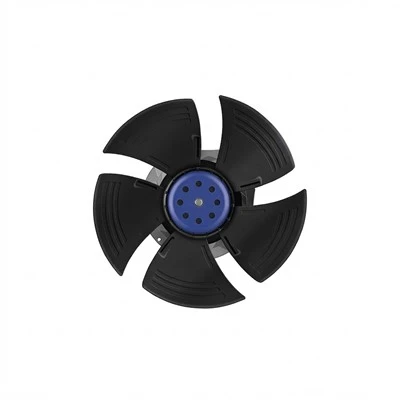
Blauberg BL-A350C-EC-F05 350mm EC Axial Fan
View product details and specifications.
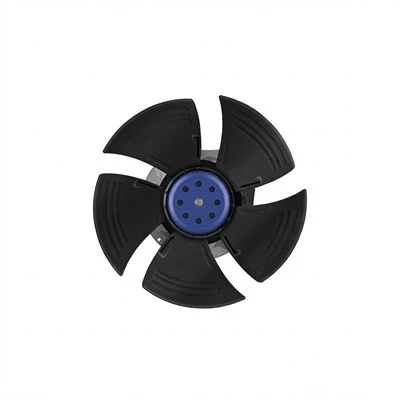
Blauberg BL-A350C-EC-07 350mm EC Axial Fan
View product details and specifications.
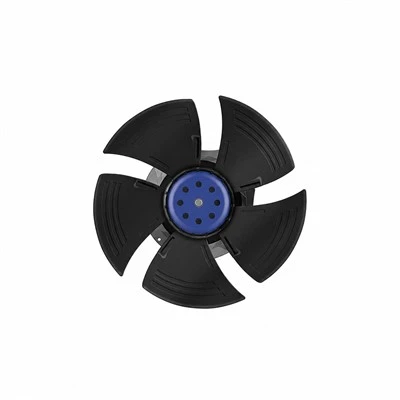
Blauberg BL-A350C-EC-05 350mm EC Axial Fan
View product details and specifications.
Next, panel mounting-this is for when you're putting the fan inside a machine, a server rack, or a cabinet, like cooling a motor or electronics. Panel mounting is simpler than wall mounting, mostly because you're working with a flat, rigid surface. First, mark the cutout on your panel-again, use the fan's flange as a template. For server racks, our 500mm Ip55 Low Noise Brushless Ball Bearing EC Axial Fan is perfect because it fits standard 19-inch rack spaces, and the IP55 rating keeps dust out of sensitive electronics. Test fit the fan: insert it from the front of the panel (the side that will face the area you're cooling) so the blades are on the intake or exhaust side-wait, important: make sure you know the fan's direction. The blades will have a molded arrow that points to the direction air flows. So if you're pulling hot air out of the machine, insert the fan so the arrow points outward, pulling air out; if you're bringing cool air in, point the arrow toward the panel, pushing air in. Once it's seated, secure it with spring clips or mounting screws-spring clips are great for quick installs where you might need to remove the fan later for maintenance. Then, run the wiring through a cable gland to keep dust or moisture out of the machine. This is especially key for industrial setups where debris is common.
Third, duct mounting-this is for when you're connecting the fan to ductwork to direct airflow, like for a kitchen exhaust or HVAC system. Duct mounting requires a bit more attention to airflow to maintain efficiency. First, use flexible or rigid ducting that's the same diameter as your fan. If you use a smaller duct, it will restrict airflow, making your fan work harder. If you use a bigger duct, you'll get turbulence that reduces performance. Our 350mm waterproof fan works great for ducting in industrial spaces where you need to move air through long duct runs without worrying about moisture. Once you have your duct cut to size, connect it to the fan's flange using duct clamps, and seal the joints with foil mastic tape to prevent air leaks. It's best to install the fan at the end of the duct run-so if you're exhausting air from a bathroom, put the fan right at the outside vent, not in the middle of the duct. That way, you don't have air building up in the duct and losing pressure. Also, leave at least 2 times the fan's diameter of straight ducting before and after the fan-elbows or turns too close to the fan will cause turbulence, which cuts airflow by up to 20%.
Wait, let's talk about a few common mistakes I see all the time. First, mounting the fan backwards. That's an easy fix-just flip the fan 180 degrees, but if you wire it wrong too, you'll have a fan that spins in reverse, moving air the wrong way. Always double-check the wiring diagram, which comes with every fan. Second, not insulating or sealing gaps. I mentioned this earlier, but it's worth repeating: even a small gap around the fan can make your fan work 10-15% harder to move the same amount of air, which wastes electricity and shortens the motor's life. Third, skipping the pre-install check of your fan's performance. Our product pages list CFM (cubic feet per minute), which is the volume of air the fan moves. Make sure that CFM matches your space's needs-for example, a 500 square foot workshop needs a CFM of at least 1,000, so pick a fan that delivers that. If you're not sure, just reach out, I'm happy to help.
Once you've installed the fan, there's one quick post-install test to make sure it's working right. Turn on the power, and hold a piece of tissue paper near the fan's intake and exhaust. It should be pulled tight to the intake (air going into the fan) and blown away from the exhaust (air coming out). If it's doing the opposite, you mounted it backwards-easy fix. If the tissue flutters a lot, that means there's a gap around the fan or the ducting, so go back and seal those areas. Also, for EC fans with variable speed, test adjusting the speed-if it's connected to a thermostat, make sure it ramps up when temperatures get high, and slows down when they're cool.
Now, a quick note on maintenance, because a good install is only half the battle. Axial fans don't need a lot of upkeep, but wiping the blades down every 3 months prevents dust buildup, which slows airflow. For waterproof fans like our 350mm model, you can even hose off the blades if they get really dirty, just make sure the power is off first.
At the end of the day, installing an axial flow fan doesn't have to be complicated. The biggest thing is matching the right fan to your space, double-checking wiring, and sealing any gaps. If you're not sure which fan is right for your needs-whether you're doing a small home appliance setup, industrial ventilation, or a damp space-feel free to reach out to talk through your project. I'd be happy to help you pick the perfect model, or walk you through any part of the install process.
References
- ASHRAE. (2021). Ventilation and Air Conditioning for Commercial Spaces. American Society of Heating, Refrigerating and Air-Conditioning Engineers.
- EC Fan Technology Guide. (2022). Blauberg Ventilation Solutions.
- Industrial Ventilation: A Manual of Recommended Practice. (2020). ACGIH (American Conference of Governmental Industrial Hygienists).
- Axial Fan Installation Best Practices. (2023). Manufacturer's Association for Air Movement and Control.
Category of Blauberg Products
Built on German engineering principles, focusing on precision, reliability, and long-term performance. Through efficient and scalable manufacturing, we deliver high-quality ventilation solutions with optimized cost structure, ensuring strong value for global OEM and project-based customers.